Postage Stamp Quilt

Postage Stamp Quilt
Postage Stamp Quilt Project Instructions
By Joanne Jones
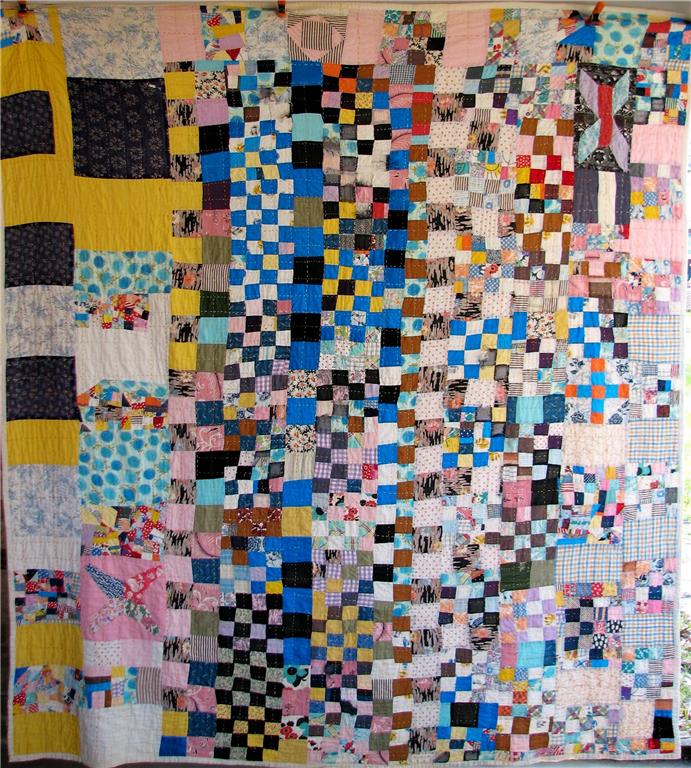
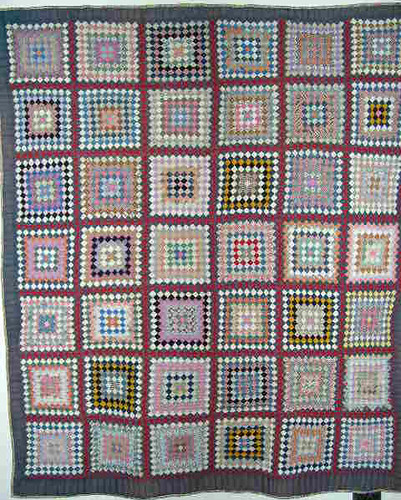
A postage stamp quilt is made up of blocks that are all the same size, usually about the size of a postage stamp, hence the name "postage stamp quilt". These blocks are tiny squares that are approximately one-and-a-half to two inches large. Dozens of colours are used in the quilt, which gives it a mosaic look. There is no set pattern for a postage stamp quilt, rather the colours are chosen at random when adding them to the quilt. This is similar to the charm quilt, except that the blocks in a charm quilt are about five inches by five inches.

It is very easy to make your own postage stamp quilt. If you are already a quilter, save up your scraps of fabric for this project. To start, gather up 40 different pieces of fabric that are at least six inches by six inches. When selecting your fabric, choose a good variety of shades and prints. The prints should include strips, florals, plaid, small prints, large prints and whatever catches your interest. If you are making the quilt for someone else, choose prints that you feel reflect that person's character and spirit.

From each piece of fabric, cut out 3 squares with each square being two inches by two inches. As you cut each square, place it in a large container or bag. Once you have finished cutting all the fabric, select squares at random from the container and place them on a table. Don't worry about what colour or print you select, just place them one by one so that you have 10 squares going across and 12 squares going down. Once all the squares have been placed on the table, you can rearrange the colours if you wish, especially if too many squares that look similar are placed next to each other.

The next step is to start sewing your quilt. Using a 1/4 inch seam allowance, sew the squares in the bottom row together. Continue to sew the squares in each row together, going row by row as you work your way to the top of the quilt. For each row, press the seam allowance in the opposite direction. That is, in one row, press the seam allowance to the right and for the next row, press the seam allowance to the left. If the seam allowances are all pressed in the same direction, then the quilt top will be flatter. Once all the squares have been sewn into rows, you can then join the rows together. Again, press the seam allowance up for one row and down for the next row.

To complete the quilt top, you will need to create a border. Choose two colours for the border - a light colour for the inner border and a dark colour for the outer border. The colours can be a solid or a print and should emphasize a colour in the quilt. Cut the inner border 1-1/4 inches wide and cut the outer border 3-1/2 inches wide. Attach the border to the quilt top.

You are now ready to finish the quilt by adding batting and a backing. There are many different ways to do this, so do a bit of research and find a method that you are comfortable with. Take your time, plan out the steps before you start and you will end up with a quilt to be treasured and passed down from generation to generation.


Postage Stamp Quilt
Comments
Post a Comment
Dear Value Stamps Enthusiast,
Please feel free to give your comment. Thanks.